Luke Pierson - Level Design
DIMELIGHT MATINEE
This video displays the state of the level blockout by the end of my work on Dimelight's pre-alpha demo.
Responsibilities
-
Design the overall level layout.
-
Provide a space to teach the player the core mechanics.
-
Create moments of nonlinear exploration.
-
Placement of enemies and grips (the internal name for projectile weapons) to create engaging combat encounters.
-
Distribute trophy boxes to reward combat and exploration.
-
Determine enemy composition for a wave-based arena fight.
-
Prop placement to make locations distinct for aiding navigation.
Design Goals
I was tasked with early exploration of the level design vision to find what did and did not work for the game's mechanics. My objective was to create a souls-like level structure that showcased the selling points of the game: unique projectile-based combat, exploration in a strange new world, and wacky characters.
Conceptually, the level took place in a limbo world of pre-production and the direction was to make the environment look like a backstage of a set. The walls were made of tangled wires, boxes of sound equipment would be scattered around, tracks for cameras would span the floor, and destructible paper script plants grew from the ground.
Level Structure
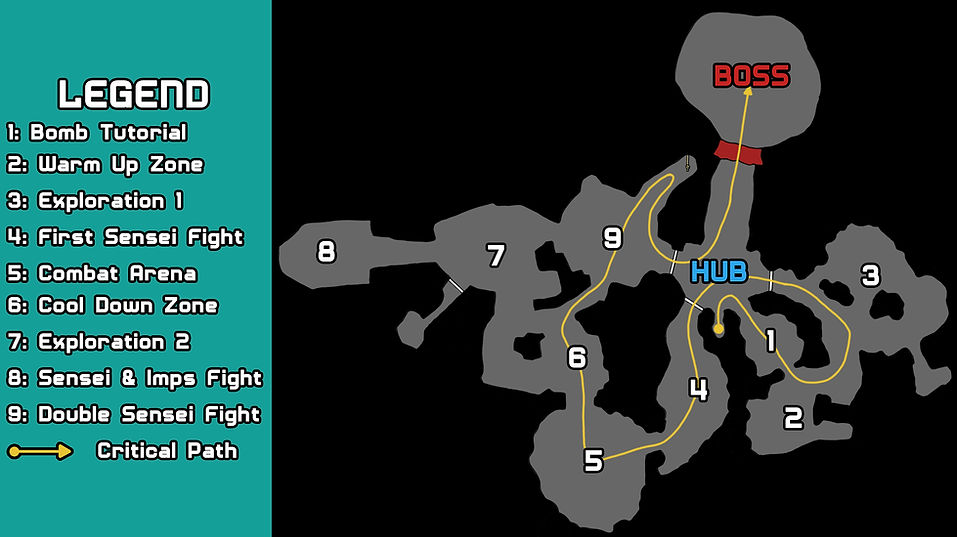

The team needed me to keep the gameplay spaces 2D and initially wanted the level to be upwards of 45 minutes, so the level would become quite sprawling without the use of verticality to keep spaces compact.
I settled on a single checkpoint located at a central hub which the player would loop back to twice throughout the demo. Top down levels can be difficult to navigate, so this looping structure helps orient the player. Unlocking shortcuts helps prevent tedious backtracking and provides the player with a feeling of making progress.
Documentation


I started by creating a flow chart detailing the level layout and a 2D map of a potential layout for the hub location. The flow chart established a foundation for the critical path as well as the pacing of exploration and combat.
The initial layout was a lot more expansive to meet the desired time to play through the demo. The blockout changed a lot through the iteration, but the core looping structure around a single hub checkpoint remained the same.
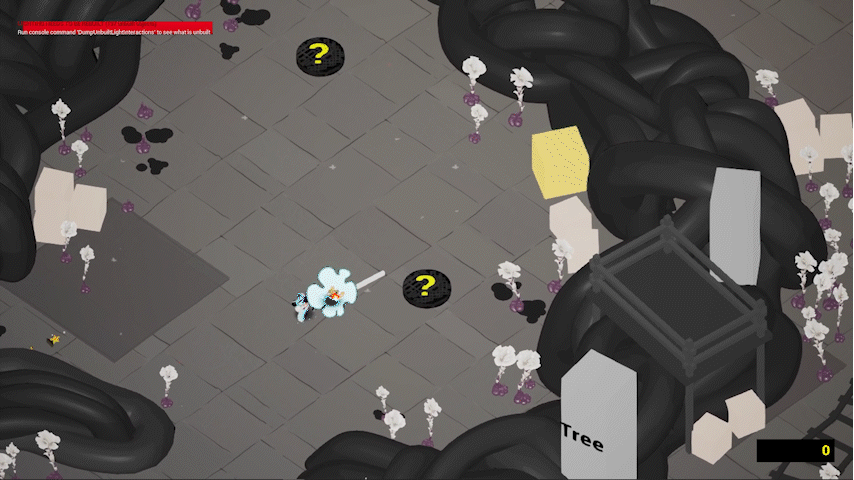
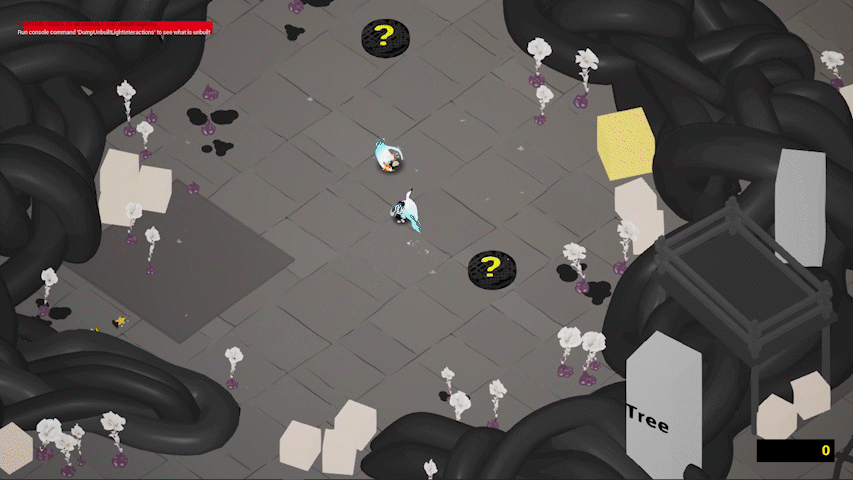
Tutorial Area Design

I placed the first bomb in the center of the room, inviting the player to interact with it.
Dimelight's unique core mechanic made it especially important to ensure the player understood the concepts being taught before progressing through the level. To achieve this, the destructible boxes block the exit until the player has proven they can aim and shoot the bomb projectile.
Before moving on, the player could practice by shooting the other boxes scattered around the room. The trophy box teaches the player that they are rewarded for destroying them. Finally, I placed a single non-hostile enemy type in the corner of the room to give the player the opportunity to practice against a moving target.
These targets are all placed in different areas of the room to help the player get comfortable aiming in all directions.
Early Explorations Into Encounter Variety
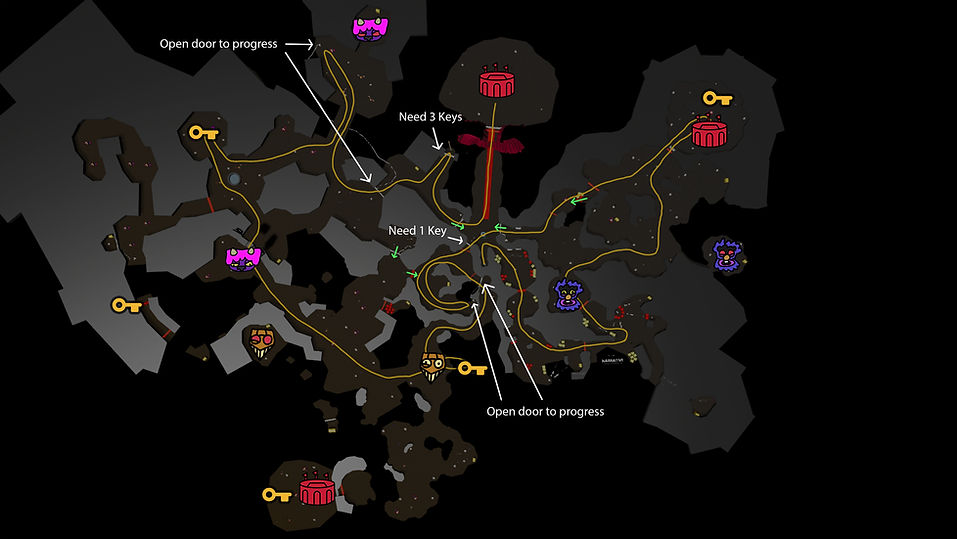
One way I explored encounter variety was through limiting the player's tools during certain encounters. I achieved this by proposing a gating mechanic that would block grips. These grip gates also helped me preserve the intended encounter experience by preventing the player from carrying grips around the whole level.

For this encounter, the player would not have access to the bomb. The only bomb in the area is blocked off by boxes.
1: when the player first enters the area, they are presented with a vista to expand on the worldbuilding and foreshadow the introduction of an upcoming enemy type.
2: the heart of this encounter is the non-hostile enemies that panic and become dangerous if the player gets too close. Usually these enemies are simple fodder, but they become threatening in large numbers and when the player is without weapons to take them down.
The critical path features a handful of these enemies, but the side paths feature more of them and in tighter spaces to make the optional sections more challenging.
3: I used the camera perspective to hide secrets so I wanted to create a moment that would teach the player to look out for hidden paths. I decided to utilize the non-hostile enemy patrol points by placing an enemy that would wander into a tunnel and reveal it to the player.
4: towards the end of the encounter, there is another secret tunnel which the player can use to find the bomb. They can then use the bomb to destroy the boxes. This recontextualizes the encounter and empowers the player.
They can throw the bomb to:
5: clear out a group of enemies protecting a chest.
6: destroy boxes to get easier access to a health pickup.
7: destroy some trophy boxes.
8: after the bomb collides, it will run back to its spawn point. The player can throw it against a wall, then grab it again before it runs back to throw it at a new angle to destroy more trophy boxes.

This encounter was designed to focus on using only the shock grip to stun enemies. I once again use the non-hostile enemies as an environmental hazard.
1: the encounter starts simple with a few enemies and a shock grip. The player is given space to practice stunning them.
2: a very dense cluster of enemies guard an optional chest. Even if the player stuns them, the player won't be able to fit through them to open the chest, so the player must alert the enemies to get them to move first, then stun them, open the chest, and run away before the stun expires.
3: back on the critical path, this enemy group is larger than the first and more spread out, encouraging the player to expand the stun AoE radius by holding their aim.
4: this group is smaller but surrounds the nearby shock grip, so the player is required to run into danger before they can neutralize the enemies.
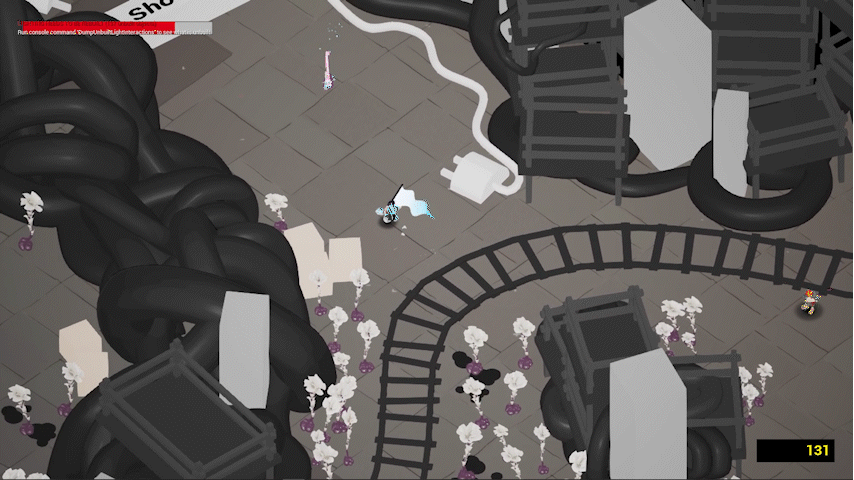
5: the player can throw the shock grip at the plug to unlock the door, allowing them to progress through the level.
6: Finally, I placed a health pickup beyond the door to restore any health the player may have lost during this encounter.
7: The boxes on the left side of the area block a path. Since the player has no bombs in this area, they can't do anything about that until later. Eventually, the player loops around to the other side of these boxes and can use a nearby bomb to destroy them and open a shortcut.
Blockout Iteration
During the blockout process, the level size was reduced to provide better pacing for the demo. Once the team was happy with the overall structure of the level and the time to play through the demo, I moved forward with placing props which were crucial for navigation of the 2D space.
While the team enjoyed the creative encounters limiting the player's toolset, we ultimately decided to move away from that design for this demo to focus on freely using the mechanics.
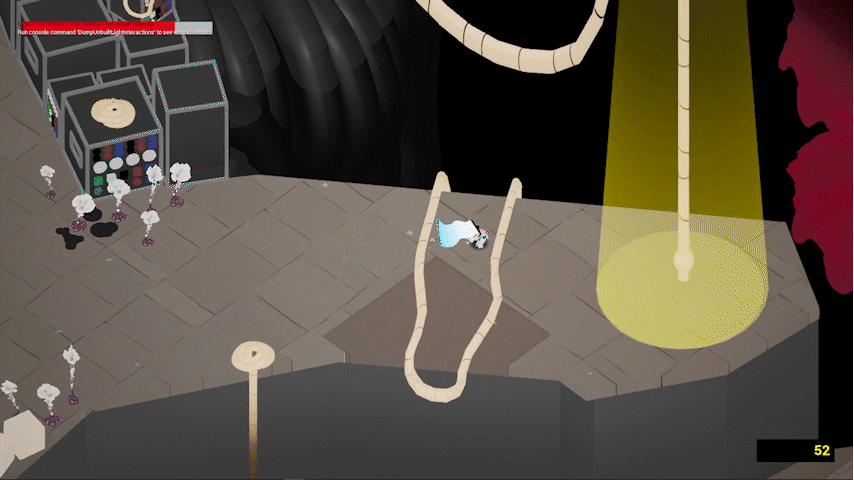
Curtain Set Piece
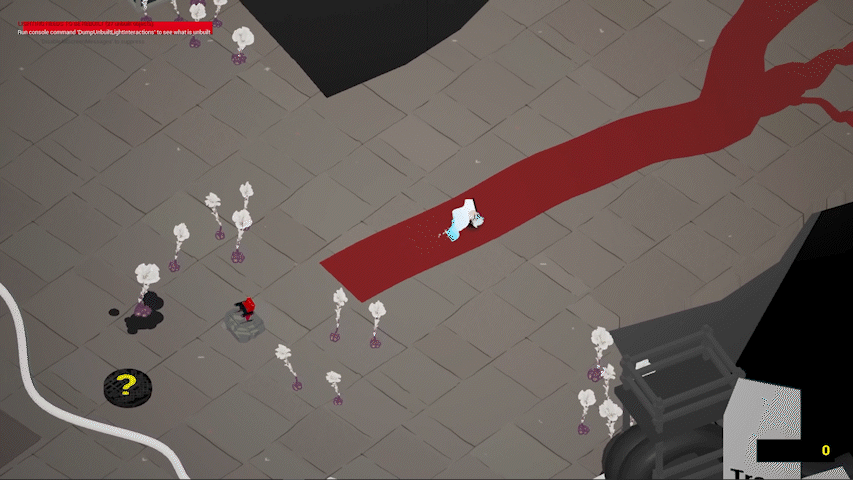
I wanted to create a dramatic moment that would build up anticipation for the boss encounter. To achieve this, I placed and scripted a huge stage curtain that would open when the player pulled a rope.
Since opening the curtain was the player's objective for the level, I placed the walkway leading to it at the starting hub and added a red carpet to direct the player's attention. I placed the rope within view of the curtain so the player would understand what pulling the rope did. I collaborated with the team to emphasize the dramatic and ominous vibes by adding a camera zoom out and making the carpet look more organic and disturbing.
Combat Encounter Design Examples
Once the player was introduced to all of the gameplay elements, I was able to combine them towards the end of the level to create engaging scenarios.
For this encounter, the player faces off against 3 Imps (basic enemies) with a Sensei (difficult enemy) supporting from behind cover. The Imps are positioned closer to the bombs, so the player must dodge the initial attack and then attempt to steal a bomb away from them before they can reclaim it. Meanwhile, the Sensei uses attacks that create an AoE stun effect which the player must periodically avoid.
This encounter has the player fighting 2 Sensei enemies with small pockets of cover.
Environmental Interactions
We collaborated on creating environmental objects which the player could interact with during moment to moment gameplay and give the player opportunities to freely engage with the core mechanics.

Cutting grass helps keep traversal engaging.
Trophy boxes reward the player and teach combos.
Destructible boxes for gating and cover.
Power cords open locked doors when shocked.
Secrets & Environmental Puzzles
I added secrets and environmental puzzles to reward the player for paying attention to their surroundings. In this example, the player encounters a shock door but the plug is nowhere to be seen. They can follow the power cord to find it, unlock the door, and get some trophies for their trouble.