Luke Pierson - Level Design
LOST ISLE
Download & Play

Level Structure

I started by detailing the critical path and intensity chart to curate pacing and escalation of challenge. I distributed gameplay beats to ensure a variety of encounters to keep the player engaged throughout the level.
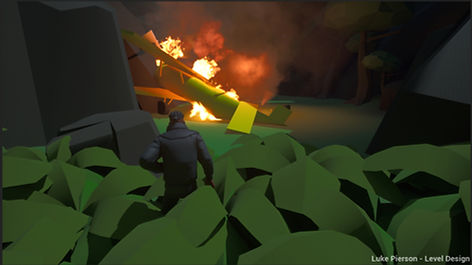
1: Crash Site

3: Temple Puzzle

2: Jungle Stealth

4: Temple Ruins
5: Cave Escape
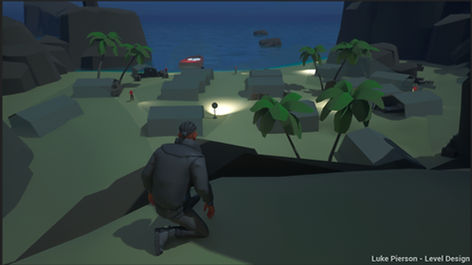
6: Beach Stealth
Stealth Encounter Design
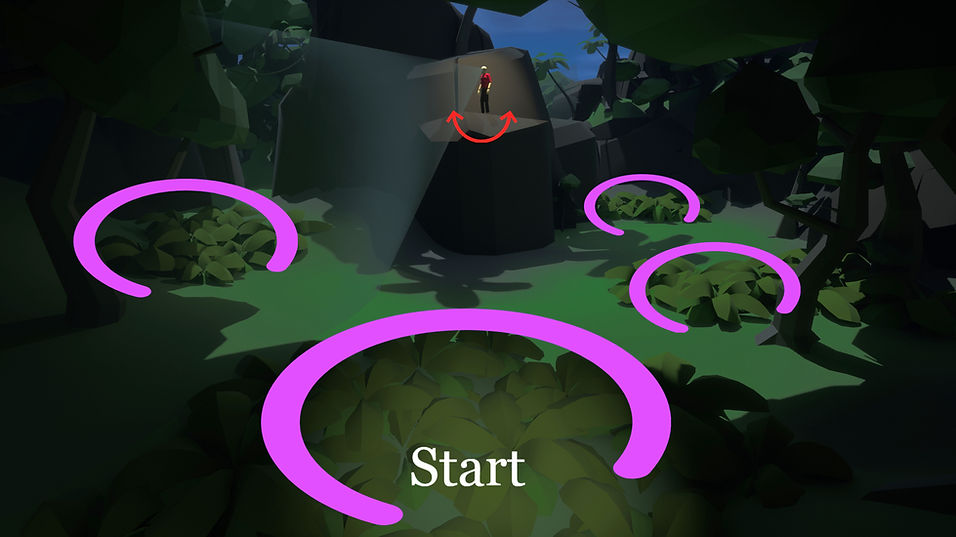
The first encounter has 1 stationary enemy on a raised ledge. There is no way to get up the ledge to confront the enemy, so the player learns that they must sneak around enemies.
There are 4 bushes to use as cover. The player must choose to go left or right.
The path on the left has 1 large cover spot but also a bigger gap where they could get spotted, while the right path has 2 small pockets of cover but also 2 gaps between safety. The player has the agency to choose to take the larger risk or a smaller risk multiple times.


The next encounter has 2 enemies guarding the way forward. The obvious route of cover has a long gap which is watched by both enemies, making it difficult to time an approach. If the player is paying attention to the environment, they can instead safely crawl through a hollow tree trunk (A) to shorten the distance between cover.

The final encounter has 6 enemies and the objective isn't as simple as sneak around an enemy guarding the path. This time, the player must search for an item while avoiding detection.
The player character mentions that they might be able to create a distraction if they can find a lighter (A) and bring it back to the TNT (B). Once the player comes back with the lighter, they can detonate the TNT, causing the guards to leave their post and investigate, opening the path to the end of the level.
Many of the tents on the beach can be entered and provide cover, allowing the player to move through this encounter in a variety of ways. There is also an optional route to acquire a collectible inside the enemy leader's tent (C), giving the player the opportunity to explore and rewarding them with a tactical vantage point to view the encounter from.
Vistas

At the start of the level, I present the player with a vista to foreshadow a future encounter. One element stands out against the scenery: a red boat. The character notes that he can use the boat to escape the island, introducing the player to their ultimate goal.
There are several vantage points throughout the level to see the boat from a new perspective. This helps the player by reinforcing the objective, orientating their mental map, and displaying their progress as they get closer to the boat.


Puzzle Design
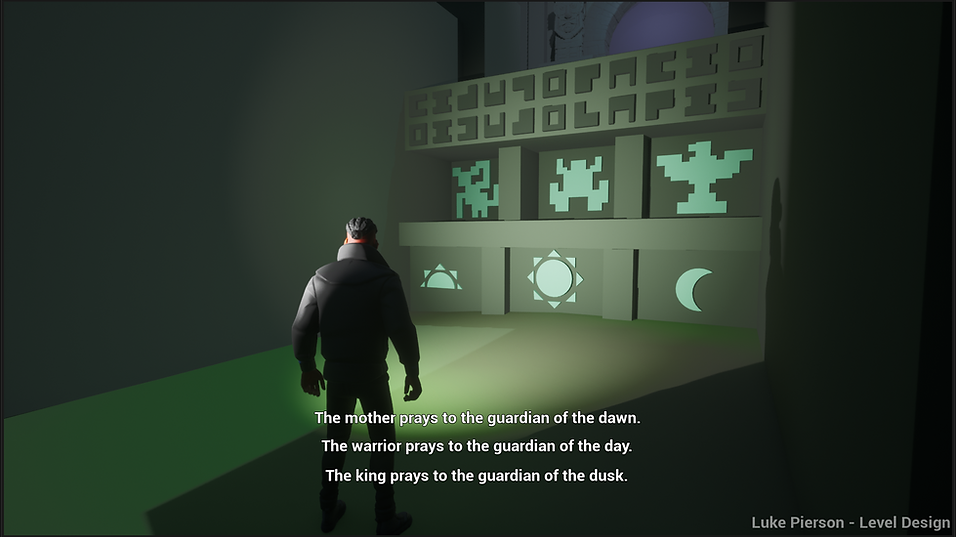
The temple door is sealed. The player must set the animal carvings at the temple's base to the correct order to gain entry. There is an inscription of a riddle in a language the character can read to help the player solve the puzzle.


The riddle talks about a mother, warrior, and king which pray to guardians. There are 3 statues in the area who match those descriptions. The player must follow each statue's gaze to see which guardian they pray to.


Once the player discovers the correct animal guardians, they must stand on the pressure plates to cycle through the animals and put them in order by using the riddle and sun/moon icons. Upon completing the puzzle, the door opens.